I wish to thank all of those readers who have expressed their concerns over the loss of my van last Sunday to the engine fire.
The old van now has a new home in a junkyard somewhere in Texas, and I now have a new(er) van sitting in my driveway with seriously less mileage and years than the old van had on it.
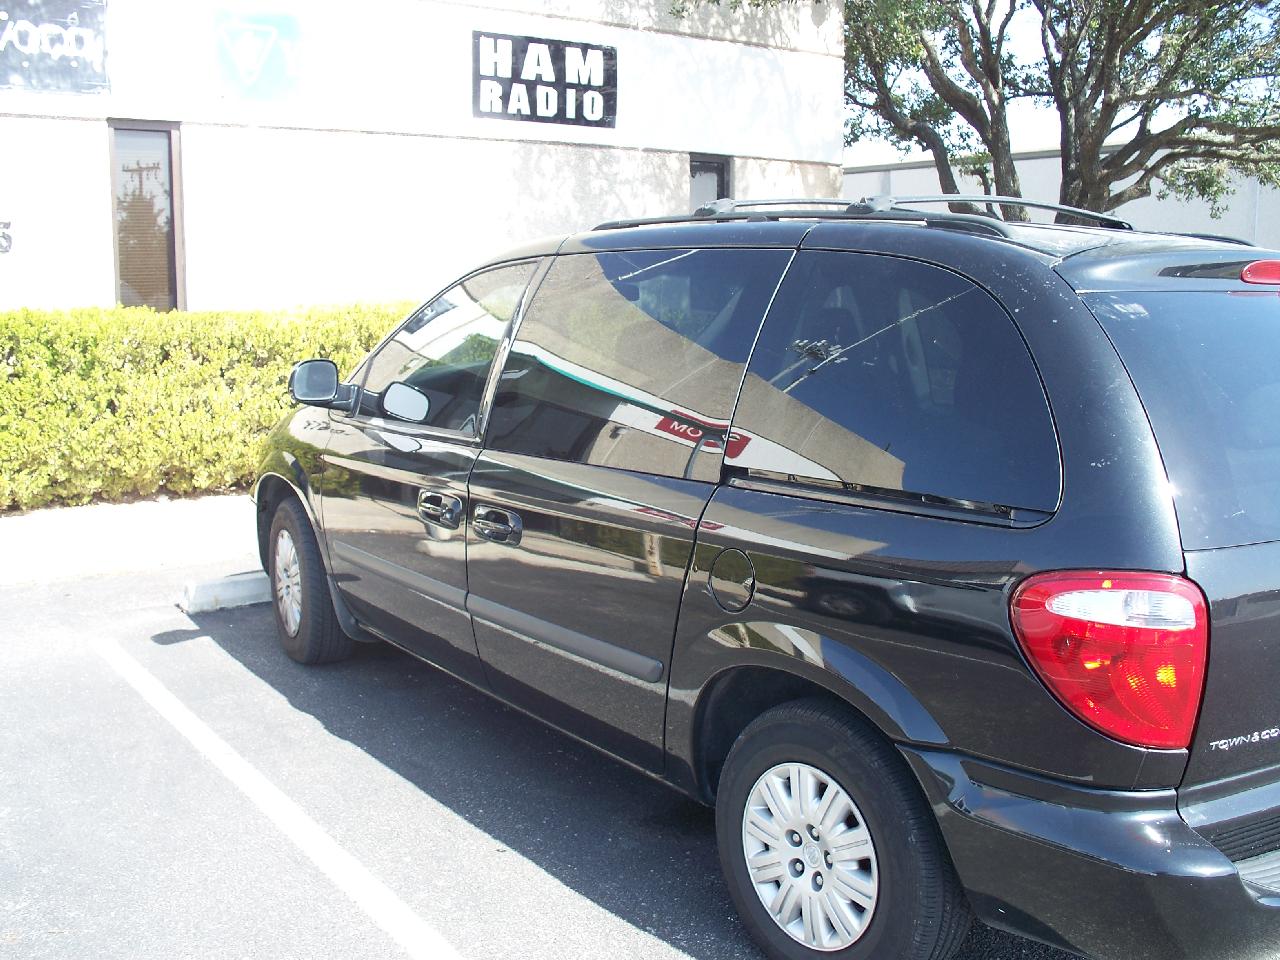
The new van is a late model Chrysler Town & Country mini-van with a factory installed alarm, dark limo tinted windows, sliding doors on both sides, and more option packages than I’m normally used to having. At first, I was concerned about the black exterior causing the van to be too hot, but actually, it hasn’t been any hotter than my old van got on a summer day. Guess that’s why I always put that window shade in the front windshield when not driving. Those shades really work!
I sent out tweets and emails to various groups and individuals asking for input / suggestions on the best way to install the antenna in this type of vehicle.
Several reasonable suggestions were received and considered.
- I looked at putting a mount on the rear hatch door, suchas the Comet CP-5NMO mount, but this model van has a solid glass window all the way edge to edge on the back hatch, with no metal frame around the glass to clamp the mount.
- I briefly considered using the roof mount option, but after my previous bad experience with the last 2 vans (leaky roofs after hitting tree limbs and parking garages), I ruled that method out as well.
- I thought about using a mag mount with the coax run thru the side sliding door, but I still needed to get the power run thru the firewall, and I wanted a more permanent install, not a temp install like a SAG Van.
- So in the end, I decided on the option of putting the lip mount on the front hood, over on the driver’s side, in the same place my old van had its antenna.
I had originally planned to perform the install myself.

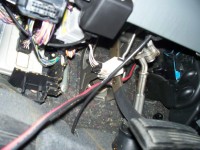
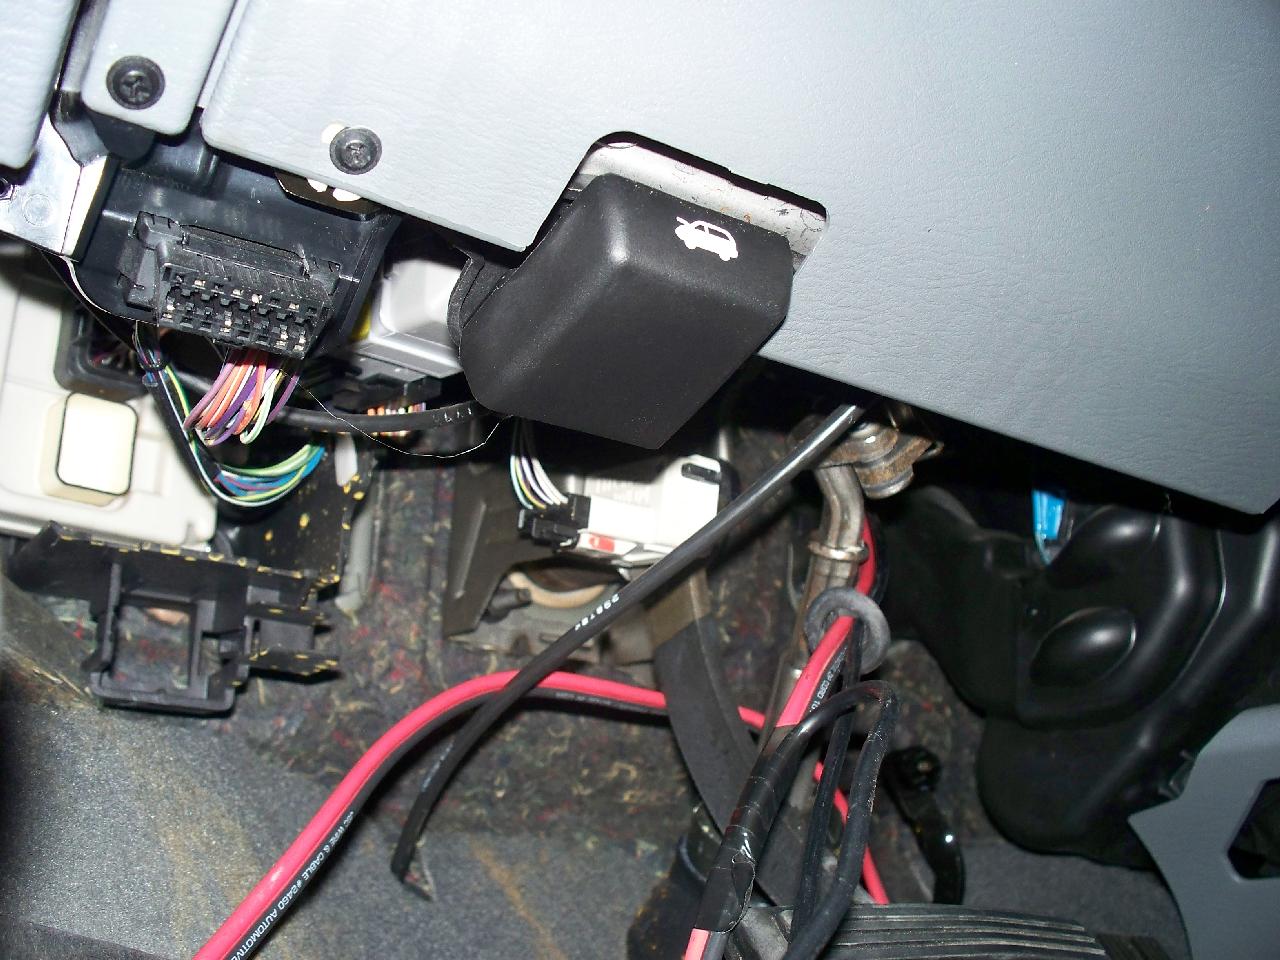
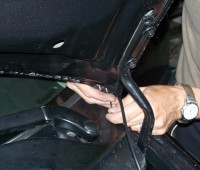
I consider myself to be technically proficient with a crimpers, wire cutters and a soldering iron, but I found getting up under the dash to find that magic spot to punch a hole thru the firewall to run the coax and power cord was too much of strain for me. You gotta be fairly skinny to fit up under the dash, and able to perform contortions that you would normally only see in a circus act. (see photo on right)
So instead, I hired Mel @ the K-Comm Ham Store (aka The Candy Store) install my ham radio into the new van, and took some photos during the process to share. (See photos at end of this posting.)
The total install process took about 2 hours from start to finish, and the inside temperature in the back garage room was nearly 100 degrees by the time we were done. Mel did the install, with some assist by Tim, and I held the light when he needed that third hand, and then used my camera when he didn’t need that third hand. After we were done, Mel got out his video camera to narrate what he did for the install, and plans to put that video on YouTube.com.
If anyone needs their radio / antenna installed with the coax / power cords thru the firewall, I highly recommend contacting K-Comm to get it done.
So here are some photos from the process to share.
-

- Van arrives at K-Comm ready for today’s out patient surgery.
-

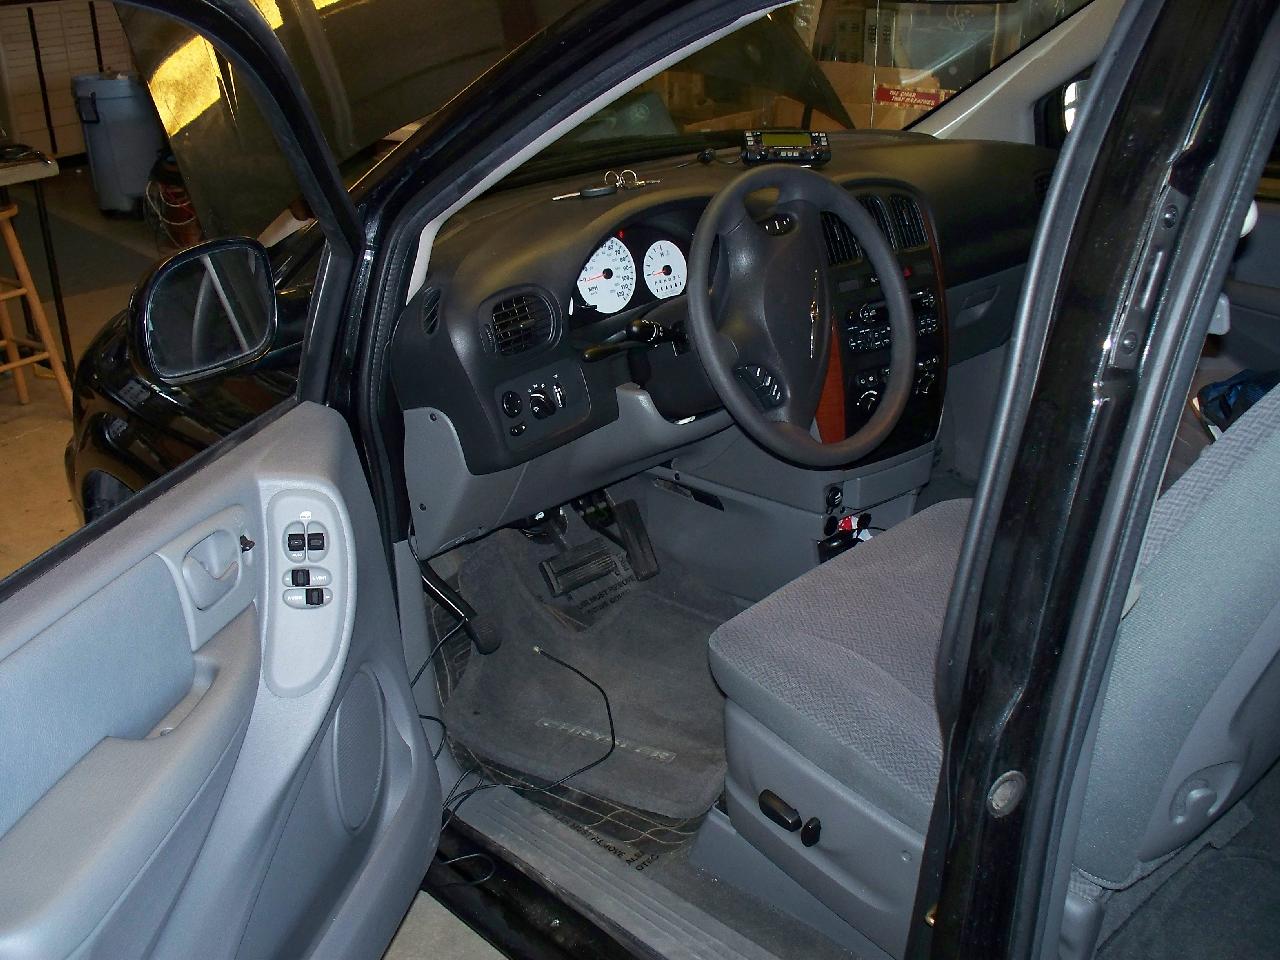
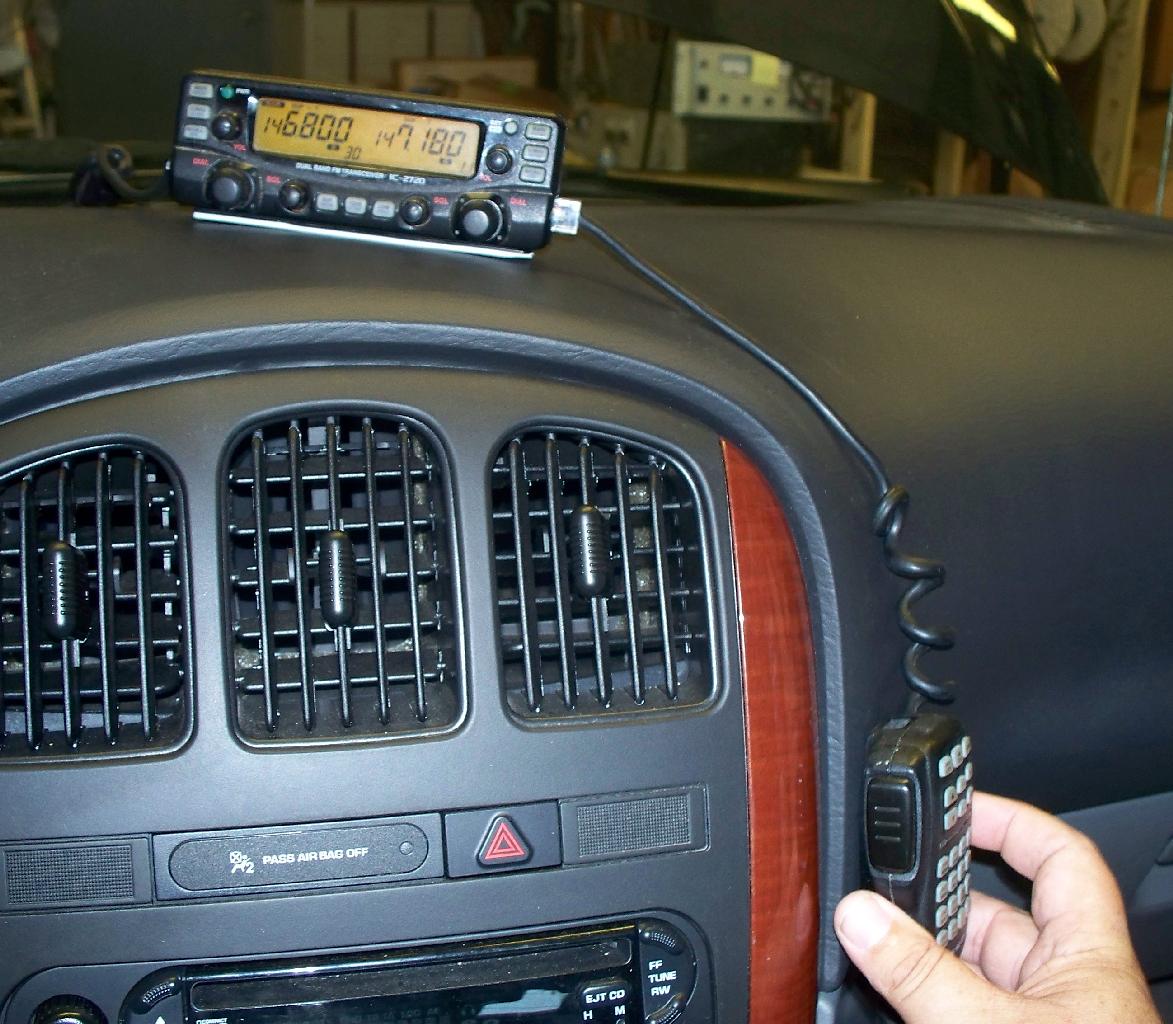
- Mel puts the control head on the dash, figures out he can tuck the control cable in a crack along the dash to conceal it, and around the edge into the trim and down to the floor.
-

- Radio will go under the driver’s seat, control head will go on the dash, microphone connects to the control head. Might need a remote speaker, but we’ll see.

-

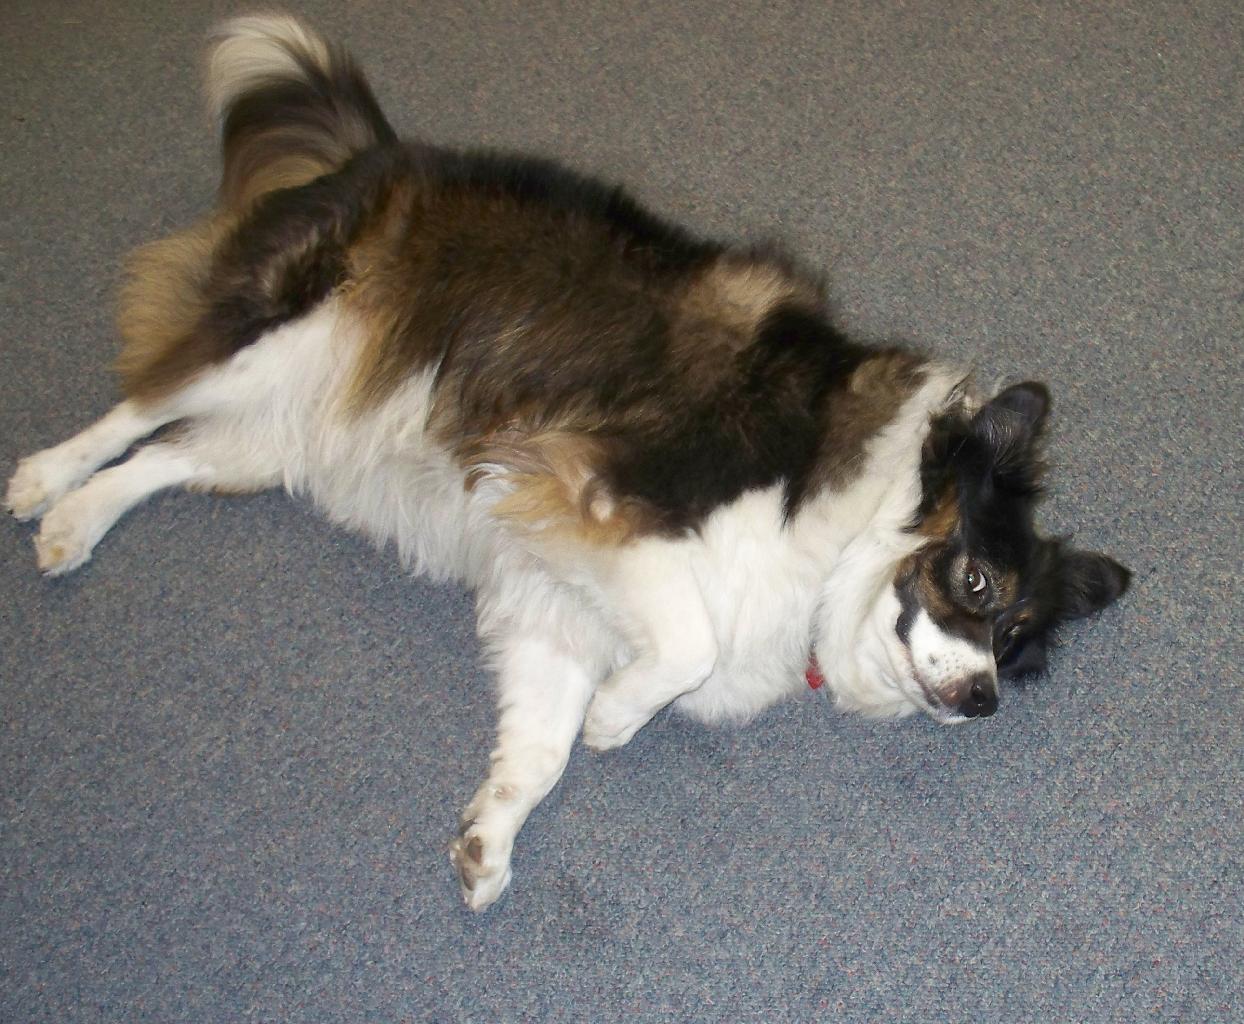
- The K-Comm Mascot, Sadie, wasn’t too excited about watching us, too hot out back in the garage area.
-

- Mel tries out his circus contortionis act under the dash, trying to find a good spot for the cable to fit thru
-

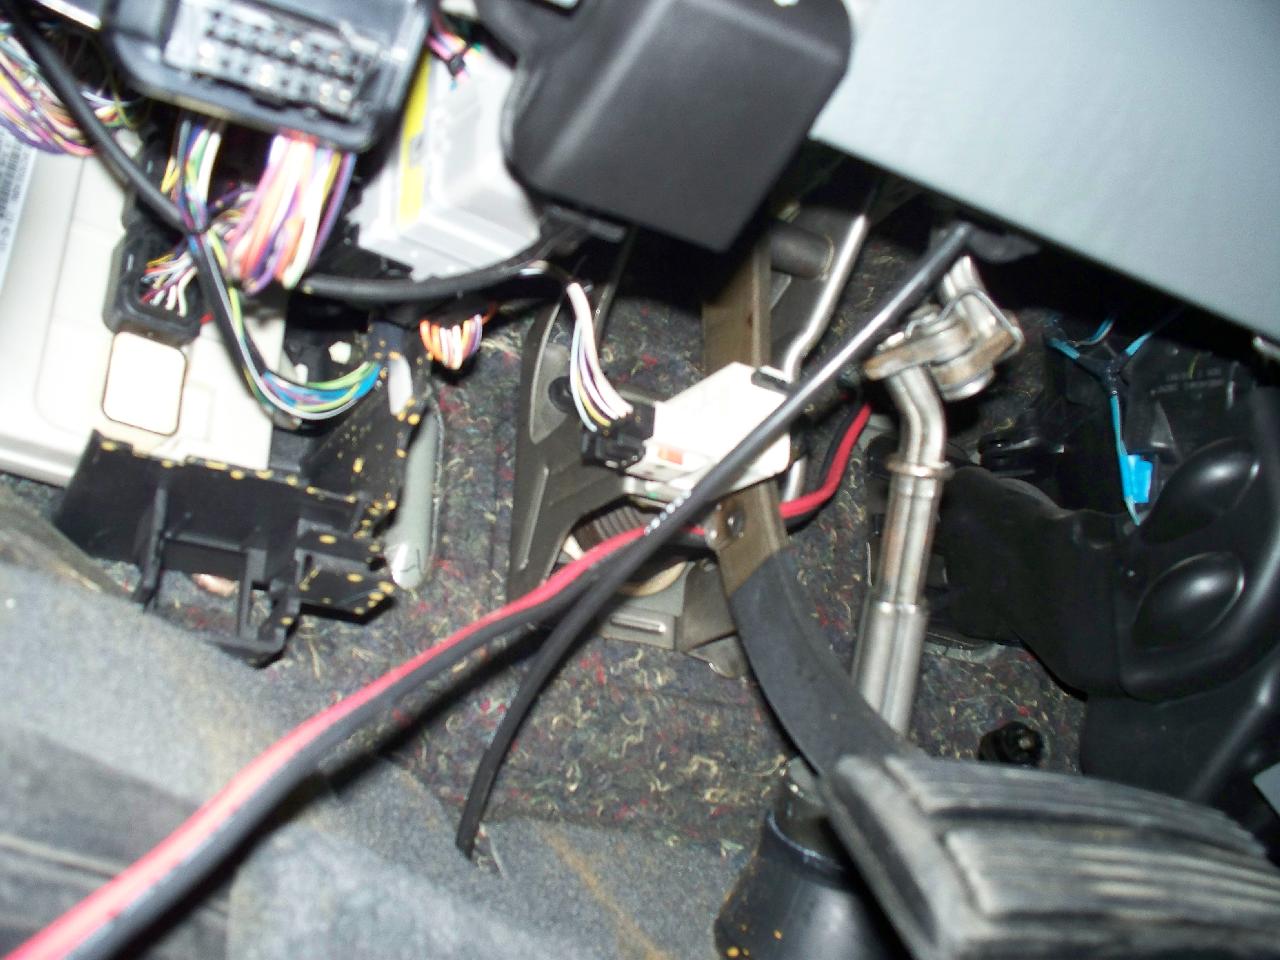
- Mel found a factory grommeted hole that he could use for our purpose, without drilling any new holes.
-
- View under the dash where the power cord went thru the firewall, needs to be secured up under the dash
-

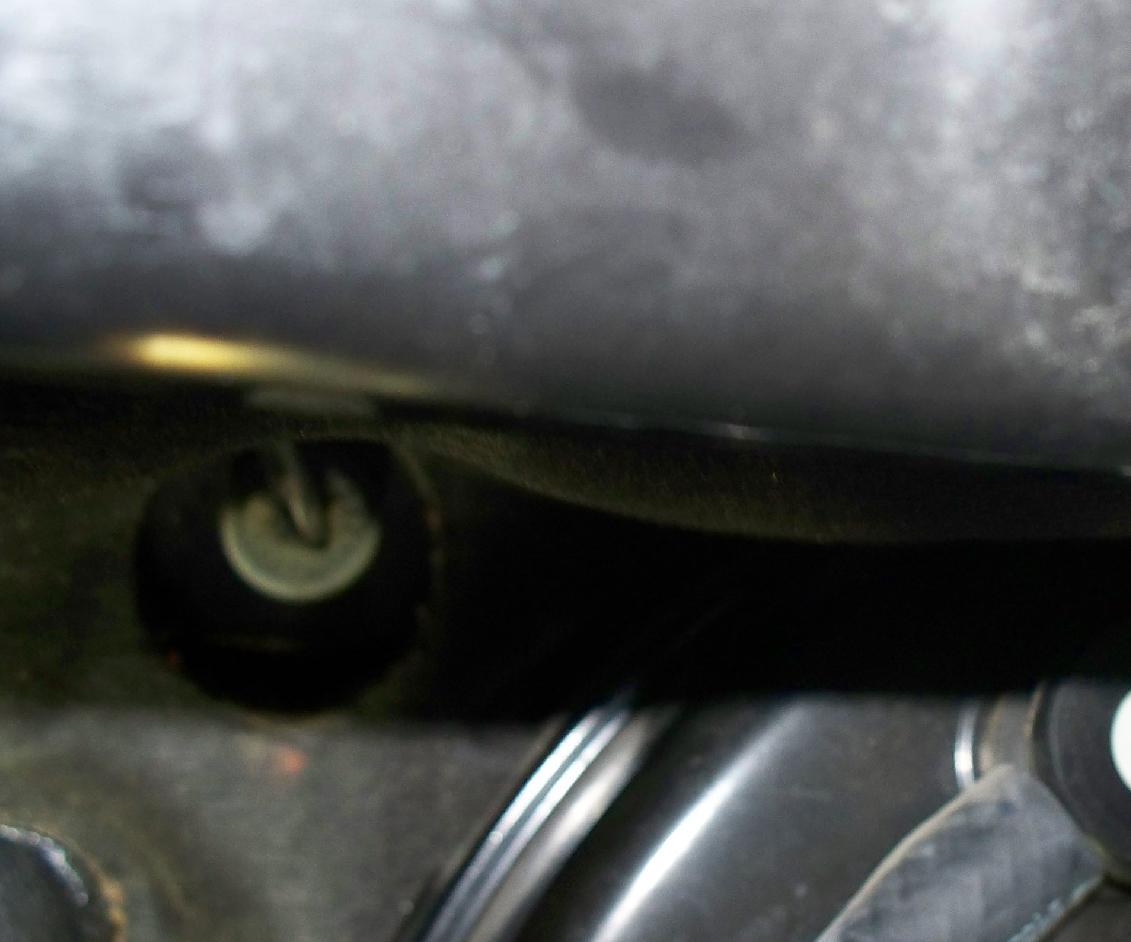
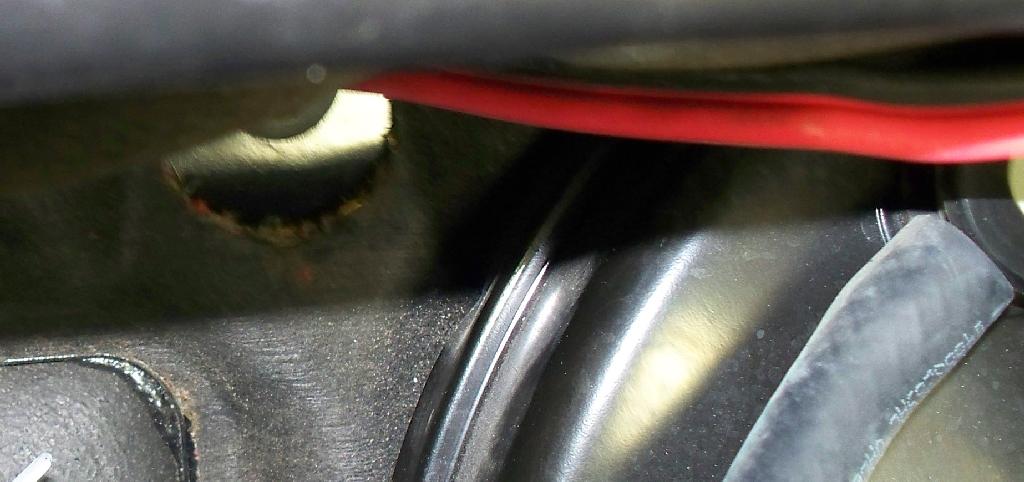
- View from under the hood, checking to see where the power cord runs thru the firewall.
-
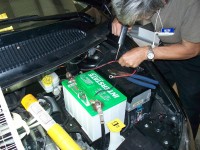
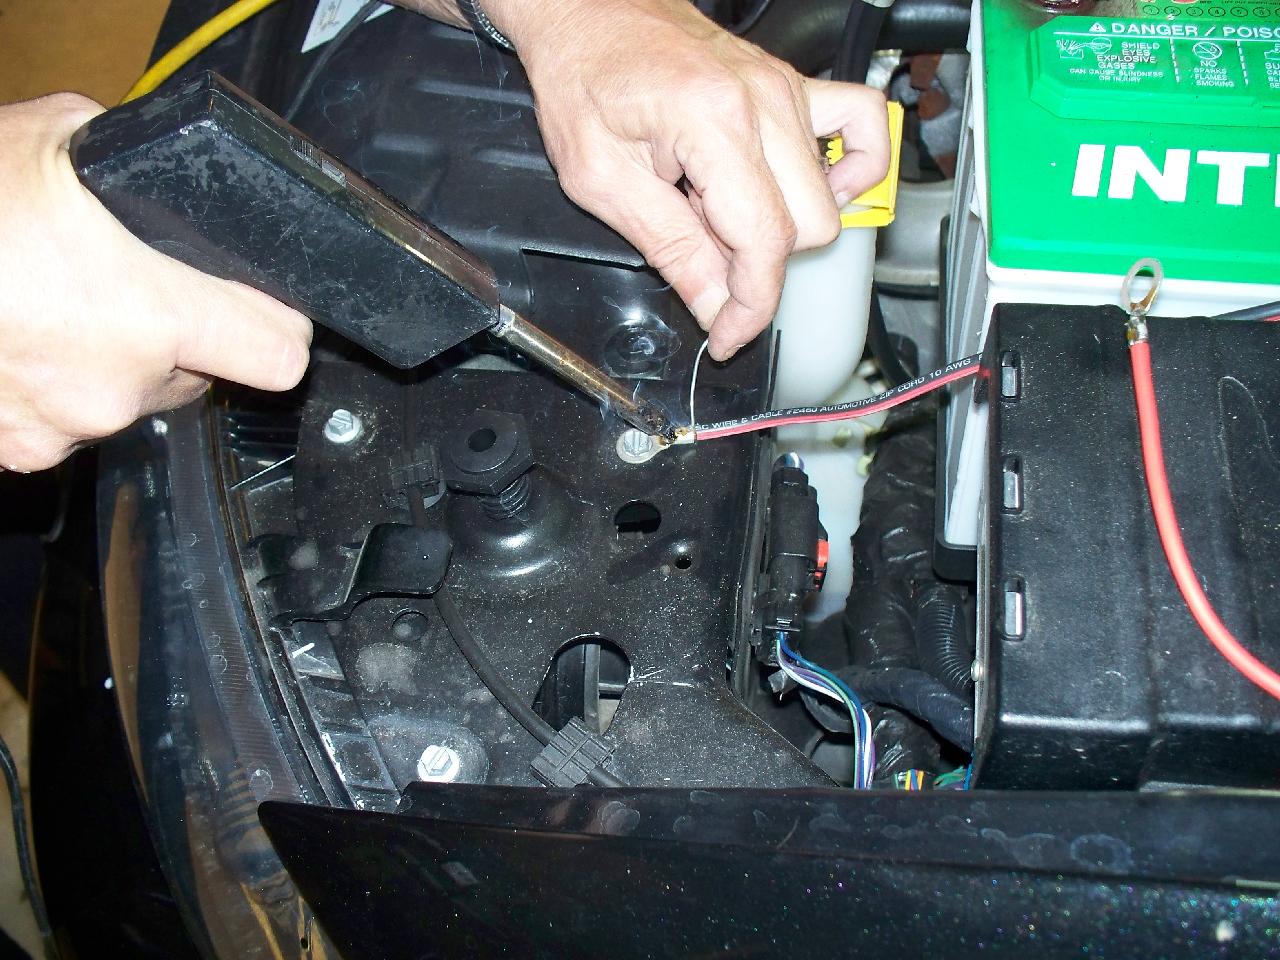
- Mel solders the fuse cable onto the power cord

-

- Mel solders the ring conector on the ground cable of the power cord
-
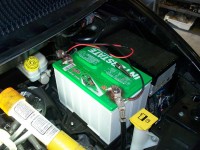
- Power cord attached to the battery, fused on the positive cable side

-

- Lookng under the dash to see where that power cable and coax fit thru the firewall
-
- Mel installing the lip mounted antenna mount with set screws

-

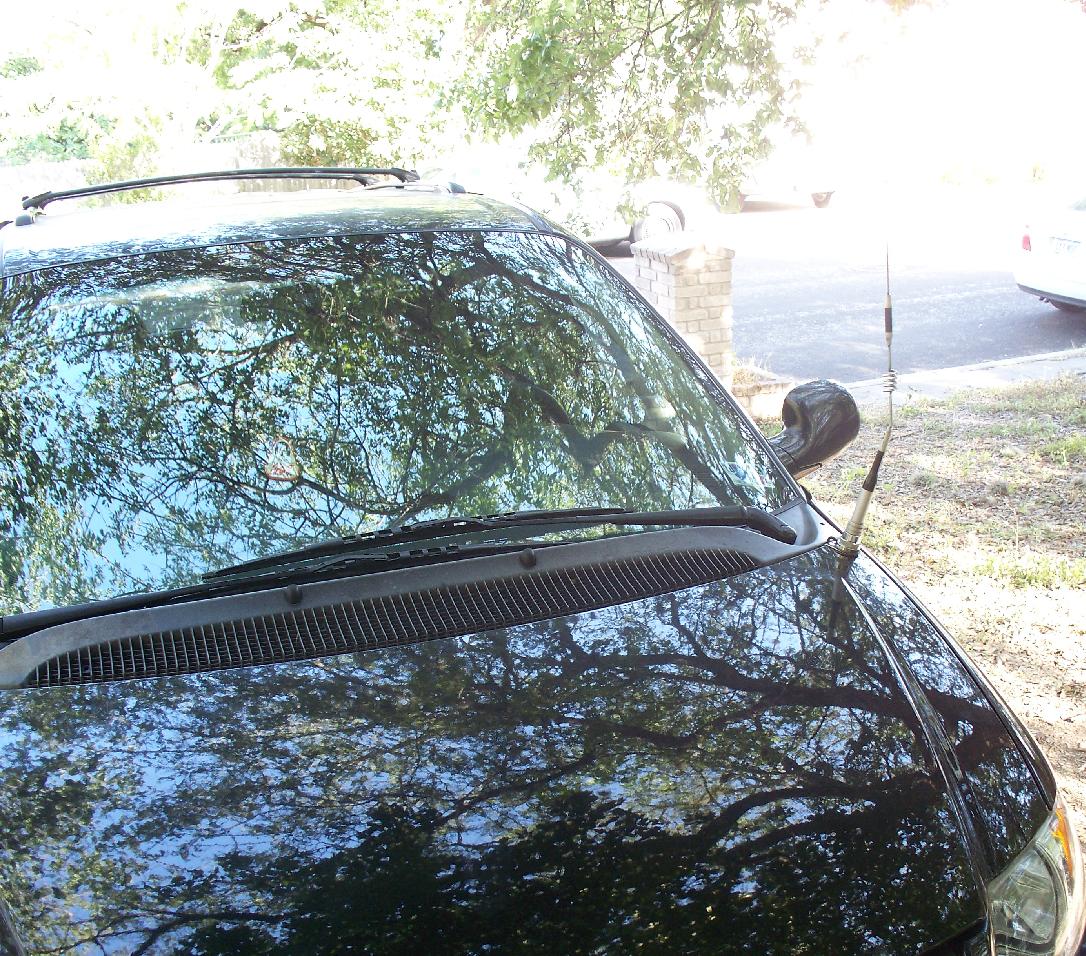
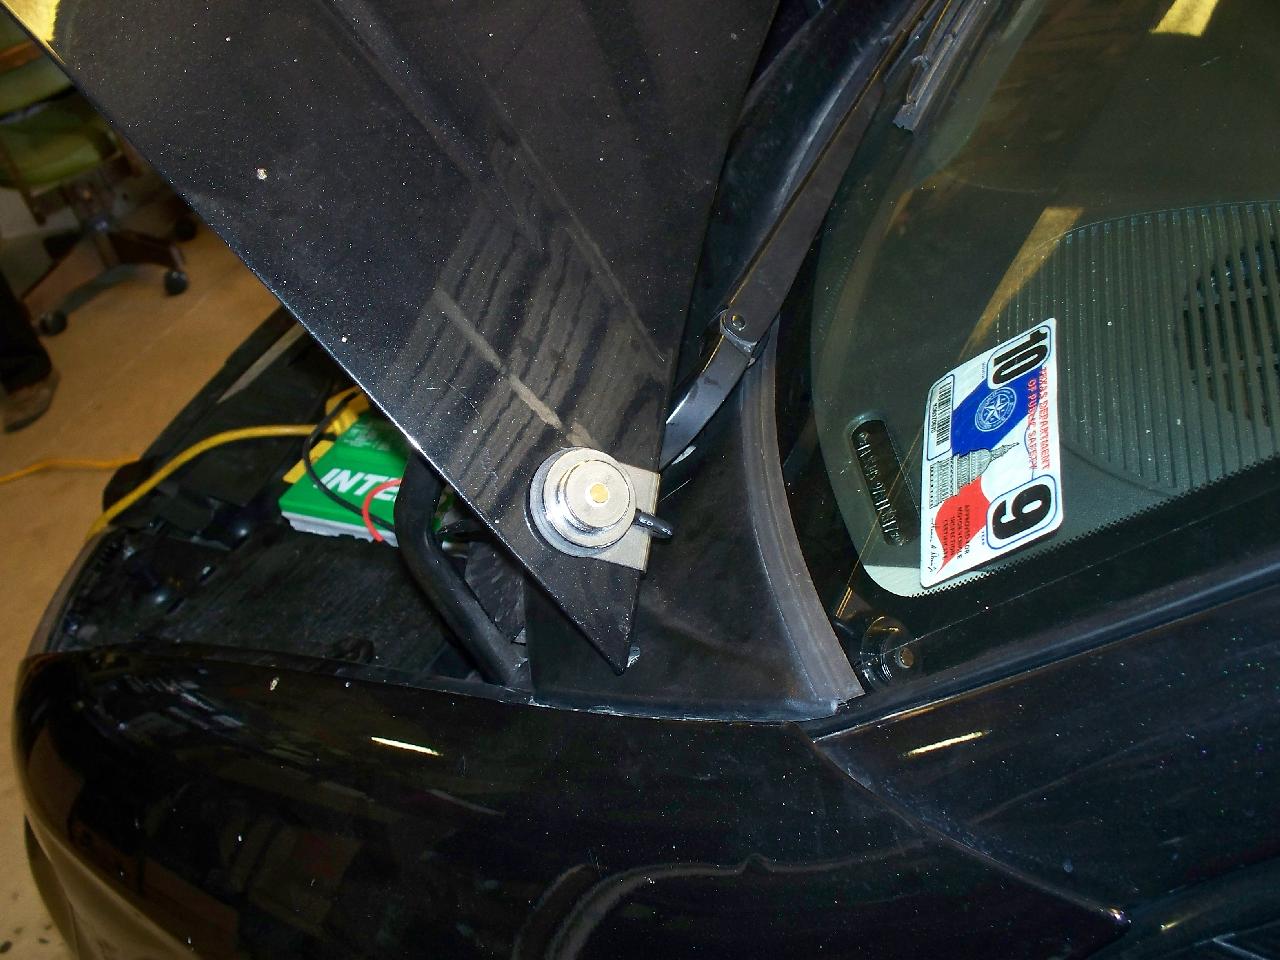
- New mount attached to the back lip of the hood on the driver’s side
-

- Mel installs the dual band antenna on the new mount.

-

- Tim putting double faced tape on the control head, preparing to mount it on dash.

-
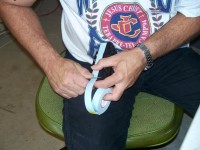
- Tim putting double faced tape on the control head, preparing to mount it on dash.

-

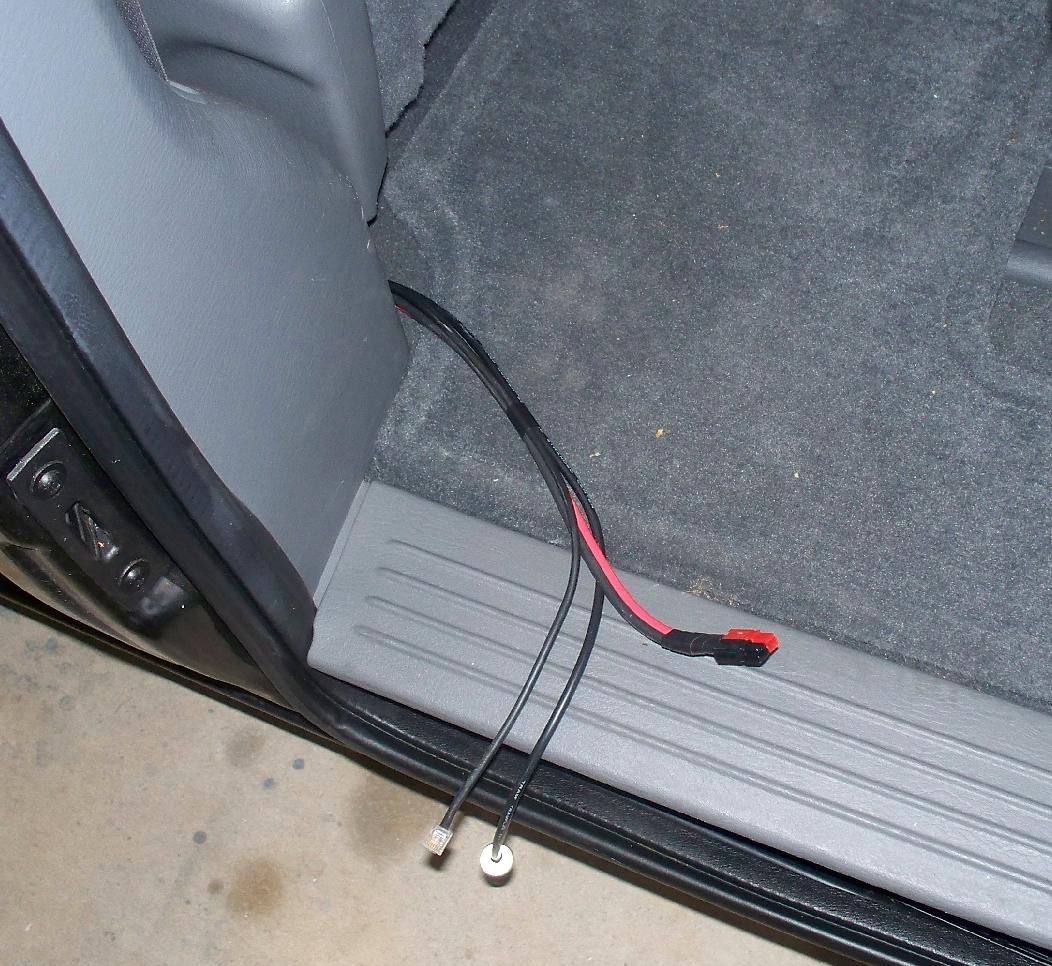
- Mel puts all wiring under the trim along the edge of the door.

-

- photo of the power cord, coax and control cord behind the driver’s seat, ready for connection to the radio.
-

- Control head mounted on the dash, mic gets mounted on the passenger side of center console, control cord tucked into the dash over to edge by driver’s door, then down under the trim to the floor and back to the radio under the driver’s seat.
-

- Antenna mounted on driver’s side back edge of the hood